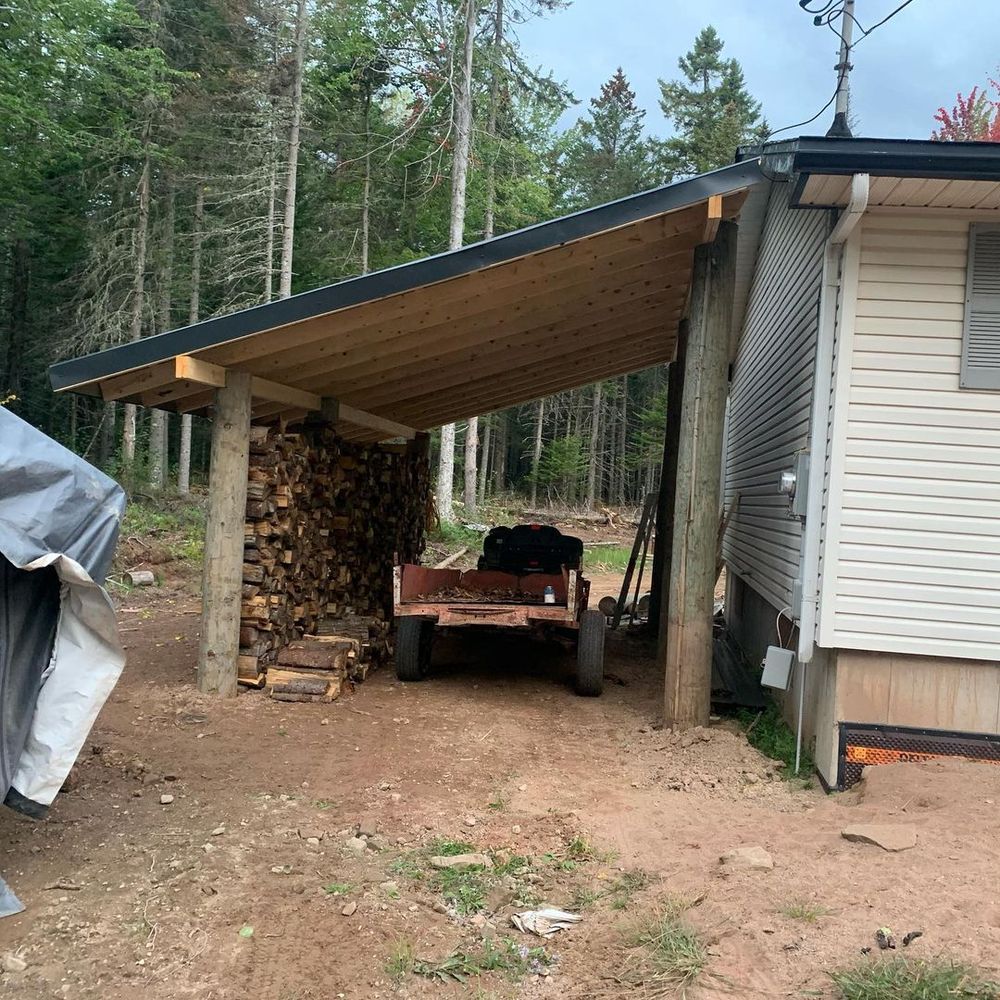
Hey there, fellow DIYers! Ever wished you had a little extra storage space? A place to stash the lawnmower, garden tools, or maybe even a small workshop? Well, you're in luck! Building a lean-to shed is a surprisingly easy project, even if you're a beginner.
This guide will walk you through everything you need to know, from materials to construction, with tips and tricks along the way.
Let's Get Started: Planning Your Lean-To
First things first, let's plan out your shed. Think about where you want it to be placed on your property. Consider:
Sunlight: Do you want it shaded or sunny?
Access: Is it close enough to the house or your intended use?
Drainage: Will it be on a level spot, or do you need to do some leveling?
Foundation: What type of foundation will you use - gravel, concrete, or just pressure treated lumber? (We'll talk more about this later)
Size It Up: How big does your lean-to need to be? Consider how much you want to store and what you want to fit inside. A standard 8x10 shed offers a good balance of space and buildability. But you can adjust the size to your needs.
Choosing Your Materials:
Lumber: Pressure-treated lumber is a must for the foundation and bottom plates, as it resists rot and decay. For the rest of the structure, you can use regular construction lumber. Choose the size based on your shed's dimensions and local building codes.
Roofing: Asphalt shingles are the most common and affordable option. You can also opt for metal roofing, which is durable and long-lasting.
Flashing: This metal material helps prevent water from seeping under the shingles, ensuring a watertight roof.
Sheathing: This provides a solid base for your roofing and helps to strengthen the roof structure. Plywood or OSB (oriented strand board) are common choices.
Hardware: You'll need nails, screws, brackets, and a few other essential items.
Time to Build:
Now, let's get into the exciting part - construction!
1. Foundation: A simple gravel foundation is easy and affordable. Start by excavating the area to the depth you want. Then, lay down a layer of compacted gravel, making sure it's level. You can also build a wooden frame on top of the gravel for added stability.
2. Floor Framing: Use pressure-treated lumber for the bottom plates and floor joists. Lay them out according to your design, ensuring the joists are spaced evenly for support.
3. Wall Framing: This is where you'll build the walls of your lean-to. You can use standard wall framing techniques, building studs into the walls, or, for a simpler approach, use pre-made wall panels. Remember to leave room for a door and any windows you want.
4. Roof Framing: The roof framing involves creating rafters that support the roof sheathing. You can use basic techniques to cut and attach them to the wall framing. If you want a more angled roof, you'll need to consider the pitch and calculate the appropriate rafter lengths.
5. Sheathing and Roofing: Once the framing is complete, it's time to install the sheathing on the roof. Then, apply the roofing shingles, starting from the bottom row and working your way up. Don't forget to install flashing around any openings or edges.
6. Finishing Touches: Now, you can add the finishing touches, like adding a door, installing windows, and adding any trim or siding you desire.
Tips and Tricks:
Pre-cut lumber: This can save you a lot of time and effort on the job.
Use a level: Make sure everything is level and plumb for a sturdy and visually appealing structure.
Measure twice, cut once: This is a golden rule in DIY! Double-checking your measurements will prevent errors and save you headaches.
Don't be afraid to ask for help: If you're unsure about something, ask a friend or family member who has experience. There's no shame in asking for help!
Safety first: Always wear safety glasses and gloves, and follow all safety precautions.
Time to Celebrate:
Congratulations! You've built a lean-to shed! Now you can enjoy the extra storage space and the satisfaction of a successful DIY project. Remember, there's always room for improvement and personalization. Maybe add some shelves, paint the walls, or add some landscaping around your new shed. Let your creativity flow!
Building a lean-to shed is a rewarding and achievable project for any DIYer. With some planning, patience, and a few helpful tips, you can create a practical and functional space for your needs. So, gather your tools, grab a friend, and get building!

No comments:
Post a Comment
Note: Only a member of this blog may post a comment.